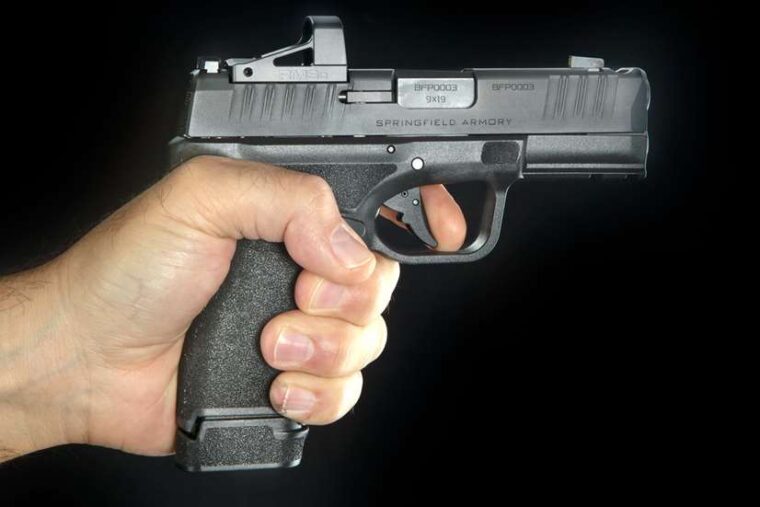
In the quest to learn the best techniques, many folks overlook the most important concept to learning: comprehension. In no place do I see this better illustrated in the shooting world than when it comes to trigger control. From a principal point of view, trigger control is defined as discharging the firearm with consistent force applied to the trigger with minimal disruption to the sighting system. That’s it in a nutshell. But, that is only part of the story, and a small part at that. Trigger control starts by understanding there are a lot of variables at play: grip size, hand size and hand strength, to name few. Don’t be fooled into thinking there is a universal remedy. There’s really not, but there are guardrails to stay on the track. The two biggest guardrails are to stop thinking and start observing.
There is the obligatory portion of this article that must be stated first. They are subjects such as how to apply force and how much to the trigger, proper position of the trigger finger on the trigger and the speed the trigger finger should move to make an accurate shot. The problem with these subjects is how specific they are to the shooter, their equipment and the shot required. I typically start classes by watching students perform first to see what they bring to the table. I abide by the “if it ain’t broke, don’t fix it” maxim. We might make improvements, but we are looking for major issues that prevent further growth. I use specific evaluation drills to give me a good starting point or baseline.
Over the years I’ve discovered trigger-control problems fall into a few mistake categories: The top three mistakes we see are improper trigger-finger placement, incorrect aiming and excessive force on the trigger. The last error is the hardest to correct, and I’m convinced it can only be remedied when the student can see the error being committed in real time.
By Jeff Gonzales


